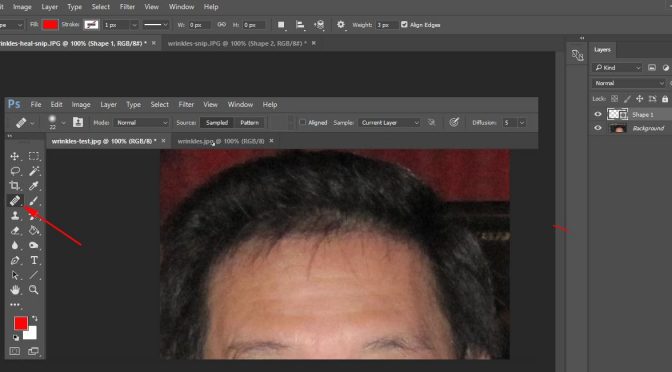
When you have taken enough of portraits, you are bound to get a request to darken someone’s grey hair or to remove someone’s wrinkles. Here are two quick ways to do both of that Photoshop magic.
To darken grey hair, just use the Burn Tool and set the Range to Midtones and the exposure to 20%. Choose appropriate brush size and gently and carefully paint over the grey hair till you get the desired shade. Use Control-J to get a new layer to work on.
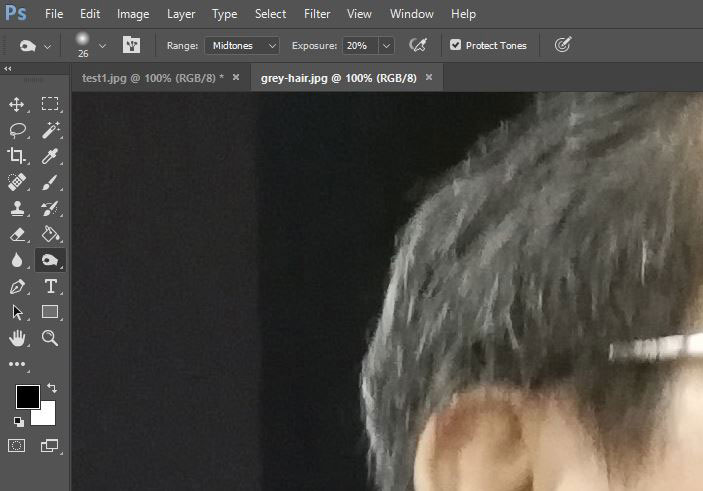
Before 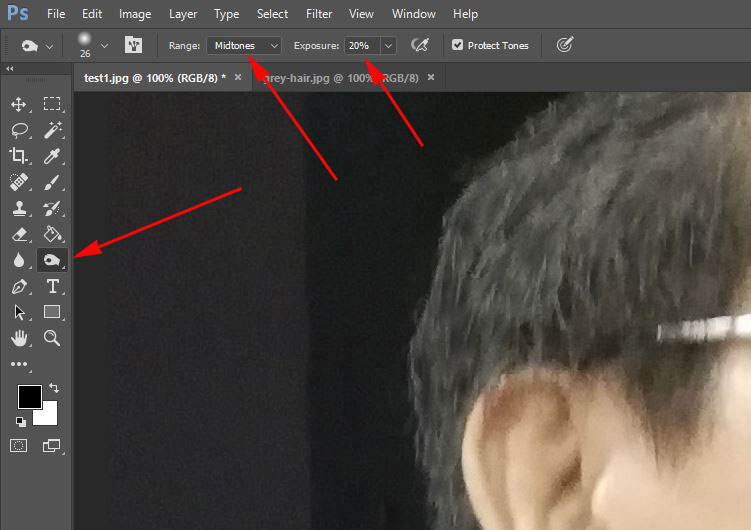
After
To remove wrinkles, use the Healing Brush tool. Choose appropriate brush size and not too much hardness (say 5-10%). Alternate-click on a clear adjacent part to use for covering the wrinkle. Use Control-J to get a new layer to work on.
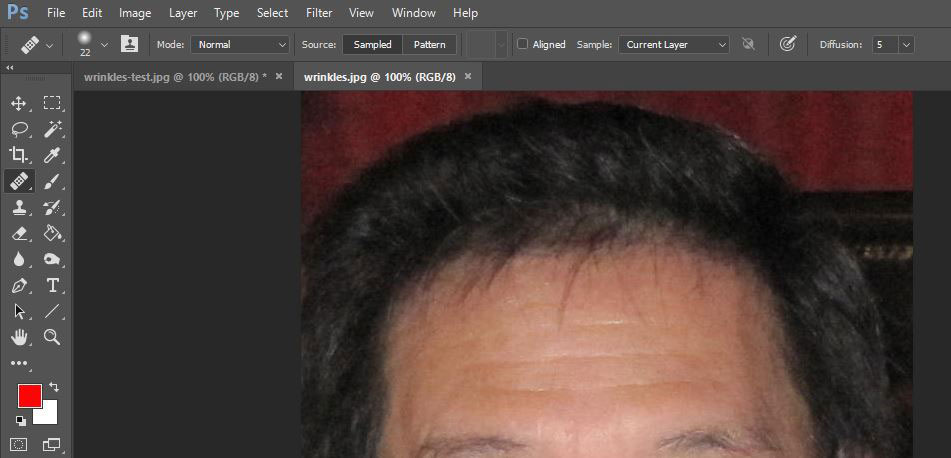
Before 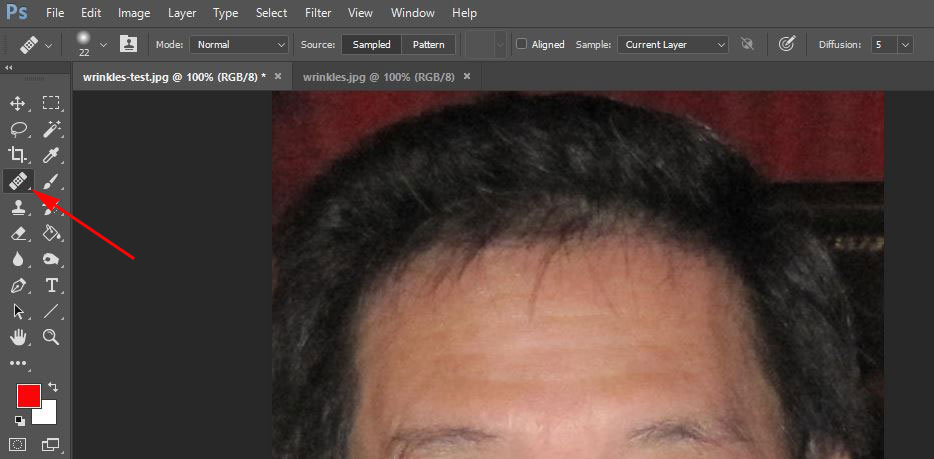
After

