
While this Tip shows a quick-fix to a problem with securing a toilet seat, the same method can be applied to similar problems with other plastic situations.
 A toilet seat, usually with a hinged cover, is bolted to the toilet bowl for a flush system. The bolt is usually made of plastic with one end flared to secure the seat to the bowl. The problem is, very often the flared end of the plastic bolt slips right through the hole of the hinge’s base. You can get a metal washer but it would rust in no time. Anything else (stainless steel washer, plastic washer, etc) would be too much of an effort to find/buy, if at all available.
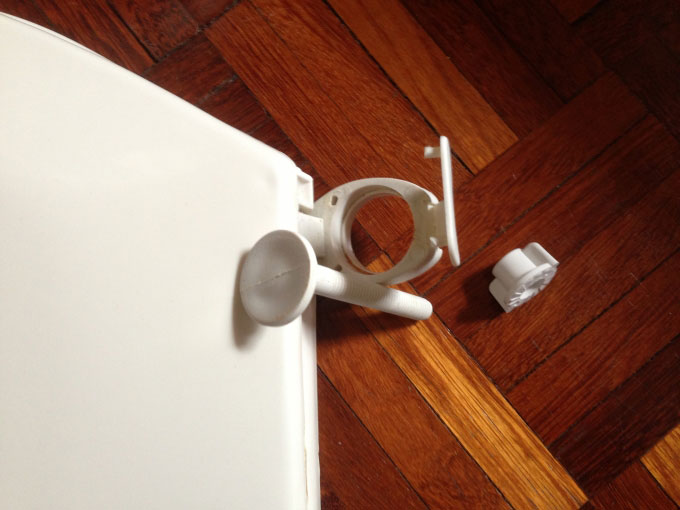 A view of the component parts. The seat, the hinge, the plastic bolt and nut.
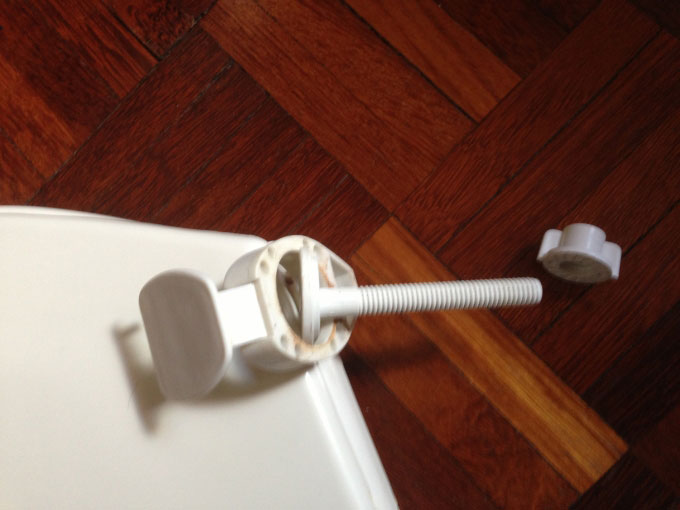 See the bolt inserted in the hinge but is able to slip out of the hole.
 All that’s required. A chisel-like tool ( a large screwdriver will do fine ) and a hammer ( or a rubber mallet, if you are a stickler about using the right tool ).
 Use the screwdriver+hammer to make indentations in the plastic bolt’s flared end.
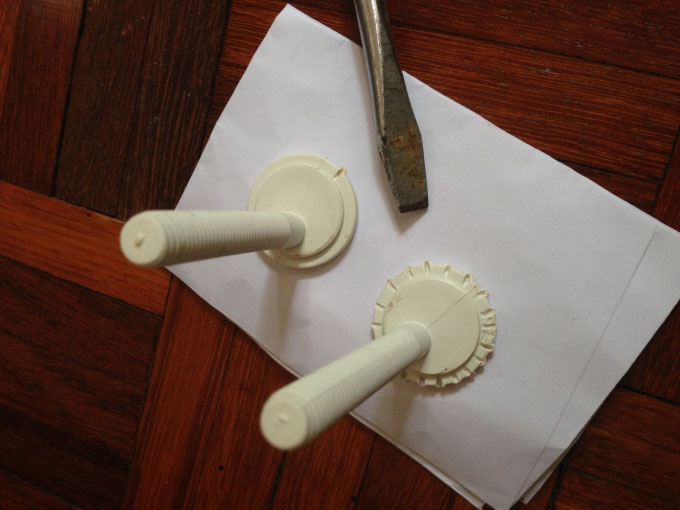 Compare the two bolts: one has the indentations completed.
 Both completed. Just a minor tip here: in a paired situation ( two bolts, two lamps, two batteries…etc.) always repair both/change both together. If one has failed, most likely the other will fail soon too.
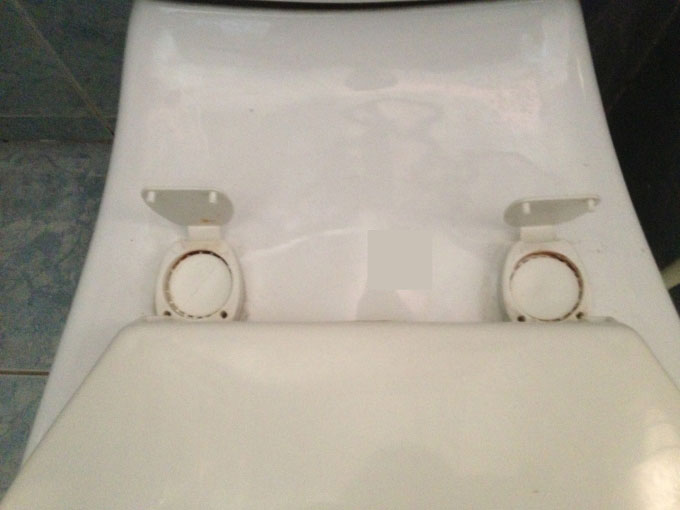 The bolts now stay well in place in the hinge. Re-bolt the seat to the toilet bowl and we’re done..