
Support for Windows XP ended on April 8, 2014 while support for Windows Vista ended on April 11, 2017. So unless you wish to pay about RM130.00 for a new Windows 10 licence, your Notebook/PC is practically useless because many new programs will not run on XP/Vista and moreover your device is now a security risk.
That was the situation facing me with my wife’s HP Mini (Intel ATOM) notebook. It had Windows XP and was incredibly s-l-o-w. I was prepared to junk it when I decided to ask Uncle Google what can I do with it. Oh joy! I found this article https://www.computerworld.com/article/3033439/windows-xp-upgrade.html and it works! I will summarise it below:
The answer is in a service called CloudReady that converts old computers into cloud-centric Chromebook-like systems. It’s provided free of charge to individual users by a company called Neverware. The CloudReady OS is based on Google’s Chromium OS, the same open-source architecture as Chromebooks and Chrome OS. Neverware has different pricing plans for Enterprises and Education Instituitions, but it available FREE for personal home use (with some limitations).
If you want to convert your old notebook/PC to a CloudReady Chromebook-like device that runs Google apps instead of Windows programs, here are the steps.
- Check that your old notebook/PC is compatible with CloudReady. https://guide.neverware.com/supported-devices/
- Check CloudReady’s critical requirements. https://guide.neverware.com/technical-details/#minimum-ram-requirements
- Make sure you have a good working Internet connection.
- Backup all your data from the target notebook/PC, as the installation will reformat your hard disk and wipe out everything.
- Download/create the installer on a USB stick, 8GB or more, using another PC (with Windows 7 or newer) with a Chrome browser. Be sure to use a blank USB stick as it will be reformatted to make the installer. https://usb-maker-downloads.neverware.com/stable/cloudready-free/cloudready-usb-maker.exe
- Use the Automatic USB Maker for simplicity.
- Make sure the target device is turned off. Plug in the USB Installer to boot from the USB stick. For my HP Mini, as I turned on the power, I clicked F9 repeatedly until I see the boot-up options on the screen. Select the boot from USB option. You should see a white splash screen with the CloudReady logo.

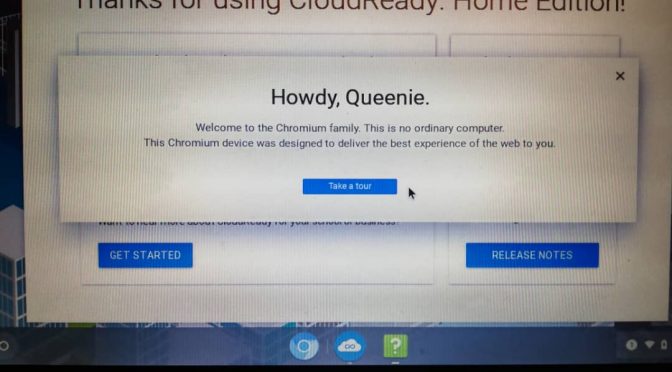
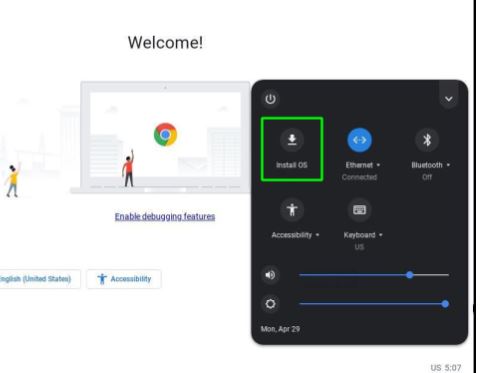
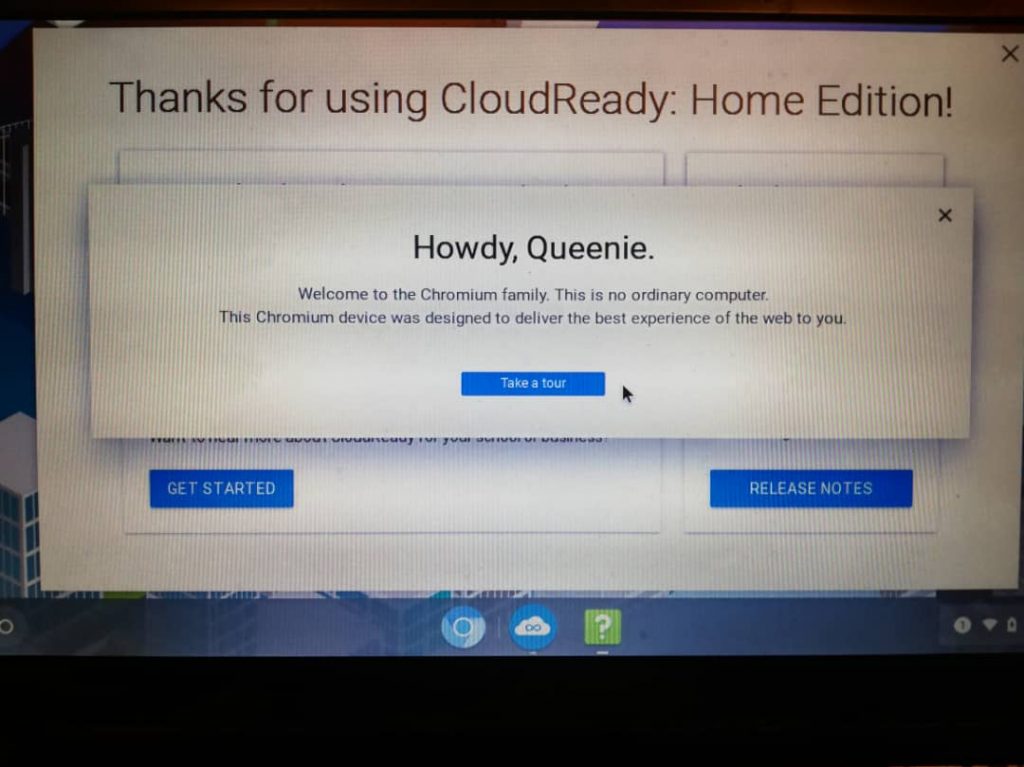
8. After the white splash screen with the CloudReady logo, you will see the Welcome Screen. Look for the digital clock on the lower right hand corner and click on it.
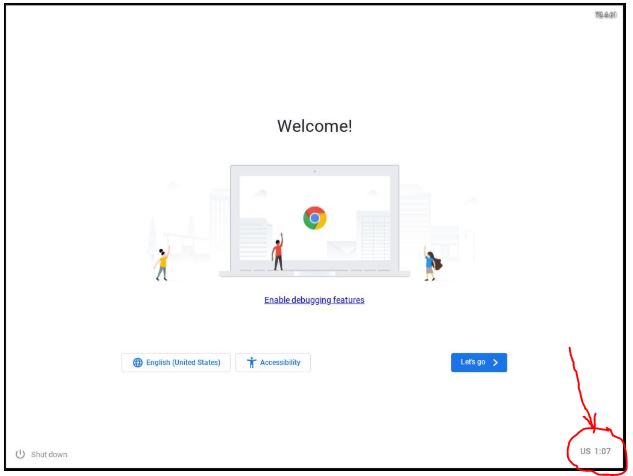
9. Be sure you have backed up your data. As the installation proceeds, the hard disk will be reformatted. Click the clock and then the Install OS option.
10. After the successful installation, you get a Welcome screen. Click on the Let’s Go…. Connect to your Network, Data Consent, and finally Sign-in with your Google account. That’s it…..
That’s it…your Windows XP computer is now an Android-like, Chromebook-like device. Use it for your Gmail and run Google apps. Enjoy!