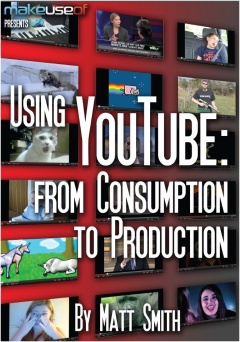
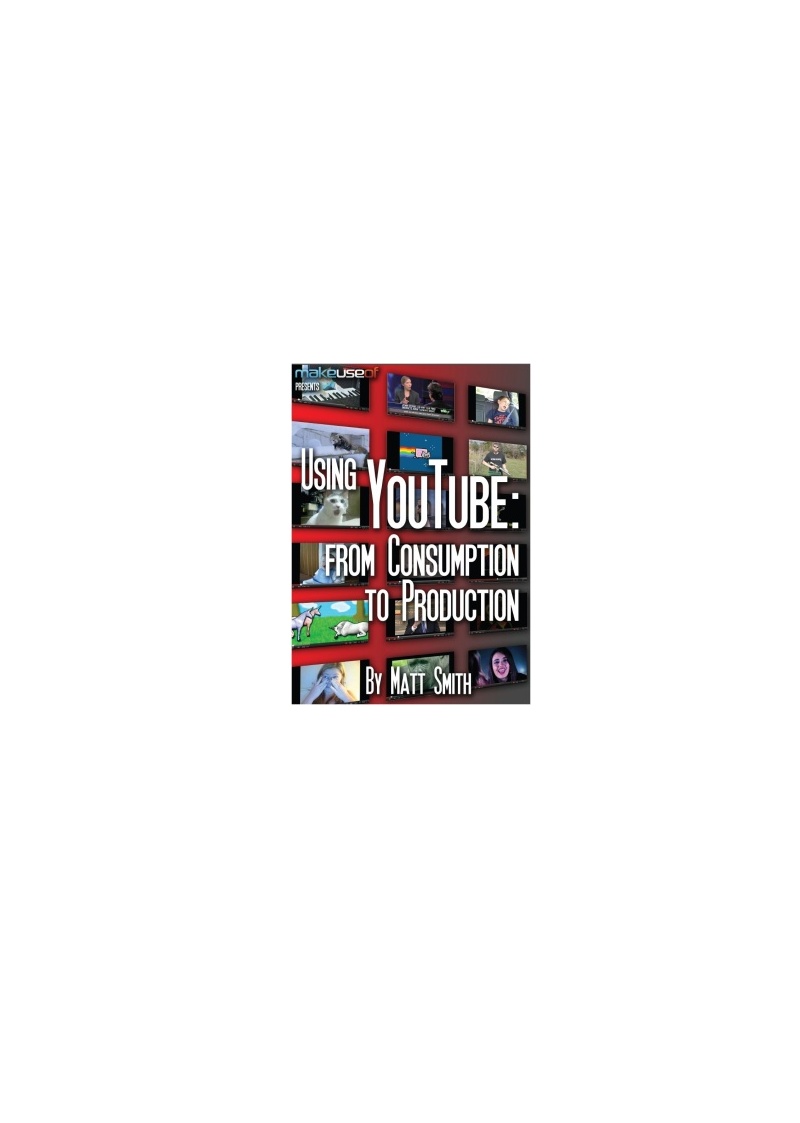
 Sometimes an e-guide is so good that you just have to print it to retain a hard copy. Then you see its cover page with a full-page full-colour graphic (or full black page with white wordings) that’s just mocking you to go ahead and print-if-dare and let me suck your ink cartridge dry. At that point you have the following choices:
1. No cover page
2. Just type the title page yourself.
3. Go ahead and print the original cover page and get ready to buy new ink cartridges sooner than later.
4. Or follow my suggestion below….read on.
What you need:
a. Microsoft’s free (yes, F-R-E-E) excellent tool called “Snipping Tool”. If you don’t know what this is, read about Snipping Tool here.
b. An image editor like the free Paint.NET ( any decent image editor will do ).
c. Your colour printer of course.
1. Open the e-guide and display its cover page. Enlarge or reduce to display the full page on screen.
2. Start the snipping tool. Click new if required.
3. Select the cover page and save as your Cover.jpg
4. Open the image editor and display the Cover.jpg
5. Resize for Print Dimensions, say 2.5 inches width x 3.xxx inches ( maintaining the aspect ratio. Save as Cover2.jpg. Select the  whole new image and copy ( Control-C ).
 whole new image and copy ( Control-C ).
6. In the image editor, open a new blank file with Print Dimensions for A4 paper ( 21cm x 29.7cm). Paste ( Control-V ) the image Cover2.jpg on the blank page and move to suit.
7. Now print the page and voila! You have a cover page with a reduced image of the original cover that will not drink your ink cartridge dry.
