Rip, Compile and Burn Audio CD
At some time, if you are a music buff, you may want to compile your own awesome playlist on an audio CD. And I don’t mean the MP3 compilations as you know MP3 is a lossy format. No sir, you want a compilation of the original lossless tracks, which means you have to rip or download or copy a track in either FLAC or WAV or WMA, which are lossless formats. Now, at this point if you start asking which of the three formats is the best to use, you’d be opening up an endless debate. But if you were to ask which one I use, I’d say all three but for the last-but-one stage I use WAV. Why WAV? And what about the final stage? Read on….
Disclaimer: What follows may not be the best or optimum way to rip, compile and burn an audio CD. However, it documents the methodology that I have finally settled on, after countless coasters made from useless CDs. Hopefully this will spare you the frustrations that I had endured up to now.
The free Tools I use:
4. Audacity
5. iTunes
6. Windows Vista Acer Notebook with CD/DVD player/burner
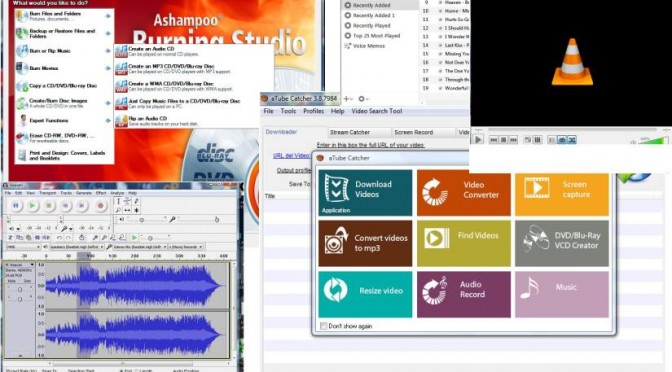
1. To rip an audio track from a music CD, I use Ashampoo Burning Studio and rip it in the lossless WAV format.
2. To get lossless FLAC high quality audio tracks from the Internet, use Bit Torrent to search and download.
3. Use aTube Catcher to record streaming MP3 tracks and convert to WAV (yes, I know…the MP3 tracks are already lossy…but if no choice, then MP3 will do. Convert to WAV just to keep all the files in same format).
A great website to download MP3 songs is http:/grooveshark.com/
4. Two ways to convert FLAC to WAV.
Use VLC Media Player to convert the downloaded FLAC files to WAV.
Media->Convert/Save->Add (the Flac, MPEG4 files)->Convert/Save as Audio-CD (WAV).
5. Or use Audacity to tidy up the files (cut off excessive silence front and back; and also to normalise the track to avoid clipping due to excessive amplitude). Open the FLAC files, edit and Export Audio as WAV.
6. Steps 4 and 5 convert the tracks to WAV as iTunes does not recognise FLAC. Transfer the final WAV tracks to iTunes’ Library as a Playlist.
7. Use iTunes (the icons at the lower left corner) to burn Playlist to CD as Audio CD.
8. Caution:
a. Check capacity of the blank CD and the total tracks size. iTunes does not check this and will give an error (the dreaded 4450 code) at the end!
b. Avoid the “Burn At Maximum Speed Possible”…..again iTunes only gives the error at the end, if your CD brand cannot handle the high speed. After iTunes has made me a bundle of coasters, I wised up and throttled the burn speed down to 8X, which worked for me.
c. If you want the track names to be displayed by your CD Player (if it has this feature), then be sure to check “Include CD Text” before burning.
Footnote:
Why not just use Ashampoo Burning Studio to rip tracks from CDs to WAV or WMA format and burn the compilation as WMA (or WAV)? Unfortunately not all CD player plays WAV/WMA formats. That’s why I use iTunes to burn an Audio CD for full compatibility in all CD players.
If your CD Player supports FLAC, WAV or WMA, and you don’t intend to play your CD anywhere else nor share with anybody else, then just use a Burn Software (eg. Ashampoo Burning Studio, Nero, etc..) to rip the tracks into WAV or WMA format and burn the CD with either one of the formats to cut down the complexity of all the foregoing convoluted steps.

